Saturday, April 25, 2015

Fergie Wet n Wild Milano Collections

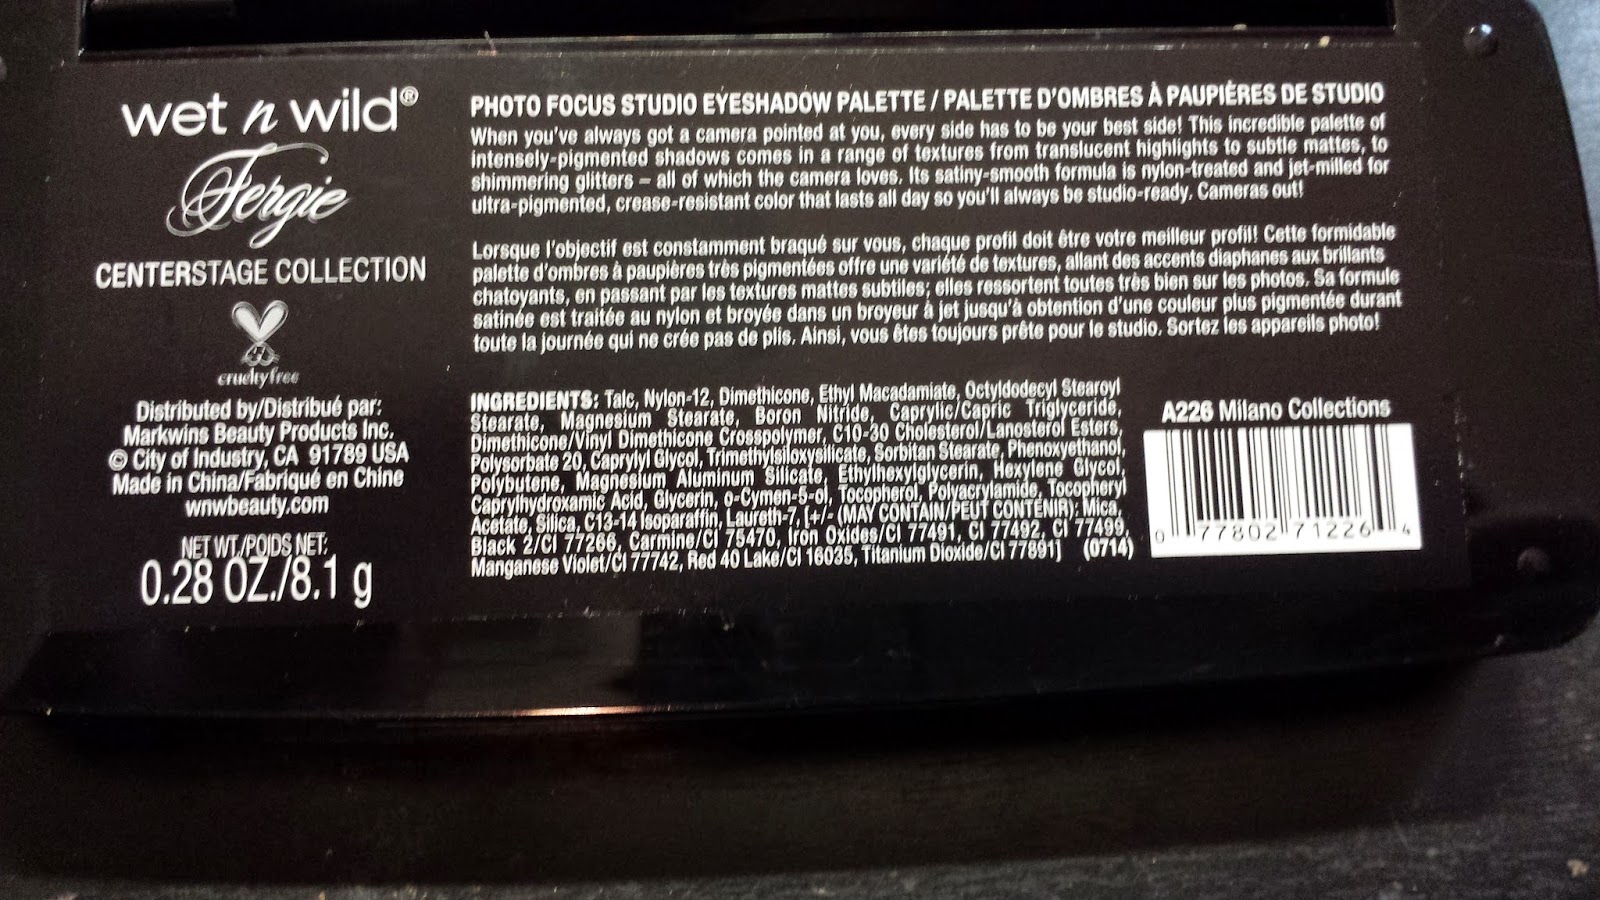
Here is a quick pictorial of a look I did using the Fergie Milano Collections palette.  I believe this is found at Walgreens only.  They has a palette with shades of purple but I opted for this one.  There are 10 different shades in the palette.  It also come with a double ended brush. I decided to apply the shadow with the brush that was provided.  I also used the Fergie Wet n Wild primer.

This palette retails for $8.99 at Walgreens

Add caption

Sticker seal

3 subtle mattes and the rest are shimmers

Double ended brush


The shadows have no names
I used this shade as my base.  I applied it all over my lid, as seen below.


I used this color as my highlight color on my brow bone (see below)


I used my finger to apply the gold shade pictured below on my bottom part of my lid.

Next time I will use a gold cream base that I have from Mary Kay before using this shade. I think it will pop more if I do that first.

I used this color on my crease...extreme close up below


I wanted to give it more depth so I used this on the crease as well (below)


I used this black color on the outer corner of my lids and blended very well (below)


I applied this shade on my lower lash line  (below)


I highly recommend applying the shadow before doing your foundation.  There is a lot of color fall out.


This is the final look.  I lined my eyes with Jordana eyeliner and Mary Kay mascara.   I also use Revlon foundation.

Final thoughts: Over all I think this a pretty decent palette. Like I mentioned earlier there is quite a bit of fall out. I think if I use my regular makeup brushes the colors will show more but the brush provided is not dense at all but a look is still achievable if this is the only brush you have.  I really like the matte colors and the 2 goldish colors.  The highlight color is very nice as well.
Thanks for stopping by.
xoxo
Christina

Wednesday, April 22, 2015

Hello There

I can't believe this is my first post for 2015 and we are already 4 months in the year.  I am no longer working.  It was hard working for someone who always criticized every single thing I did.  With my husband working out of town, it was not a healthy place for me to be at especially since I was the only one responsible for my son.  I hated coming home in a bad mood and taking my frustration out on him.   I think I went through a time of sadness.  I would just lay on the couch and do nothing which made me even more sad.  It was a terrible cycle.  I finally decided to go back to the gym and I am starting to feel better.  My husband should be coming back home too which makes me very happy. We haven't seen each other in over 30 days.
I am going to try to keep blogging and finally giveaway the Real Techniques brush and sponge.  Follow me on Instagram: christinachains77
I will follow back as well.

Just curious: What's the weather like where you are at.  Here, it's cloudy and it may hail.  My grass is so long but the grass is too wet to cut it.

Please follow my blog and thanks for stopping by.
xoxo,
Christina


Tuesday, December 30, 2014

Regret

A couple of days ago my family went to Red Rocks Amphitheater in Colorado.  I am not ashamed to admit that I am scared of heights. I am overly cautious.  When we got there the snow was still fresh from the day before.  I yelled at my husband a couple of times to keep his eyes on the road instead of looking at the beautiful landscape ahead or down below the road.
My love for Red Rocks started when I started watching Extreme Weight Loss with Chris and Heidi Powell.  They are like angels/life savors.  The show makes me cry every time I watch it.  I love when they take their clients to Red Rocks.  I love seeing the clients push and fight to finish climbing the stairs at the amphitheater.  They have such endurance.
So when we got there, we were at the very top of the steps or balcony.  My husband asked If I wanted to climb down.  I quickly said "No".  My excuse was because the snow was still on the steps, I might fall, my son might fall, what if it was too slippery, ... way to many excuses.  I stood there at the top and looked down at all these people that were already down.  I started to get mad and sad.  Mad because I am so scared to do anything and sad because I  was keeping my son and husband from
enjoying our day at Red Rocks.

I looked at the mountains ahead and asked God to help me just relax and enjoy the day.  I knew that if I didn't go down I was going to regret it as soon as we left and I would have to live with that regret for the rest of my life.  Theres already enough regret in my life adding another one would just...


Red Rocks Amphitheater

Gods Glory


On stage at Red Rocks Amphitheater.  The climb down and up left me quite winded but totally worth it.


Thursday, November 27, 2014

Too Faced-Melted Ruby

First off I would like to wish you a very Happy Thanksgiving.  Hope you had  blessed day today and many more blessed days ahead.  I am thankful for being together safely as a family.

Too Faced
Melted Ruby


Gently squeeze tube to release product

I asked a my dearest friend to pick this color up for me since she was going to do an ULTA run.  I looked at it on-line only.  I was hesitant to get this color because I don't usually buy red lip color.  I prefer pink lips rather than red.  I decided to take a leap of faith and hope for the best with this color.  I am so glad I went with this color.  I love it.  This is the second MELTED color I own.  I believe there are 10 in the collection. Each one is $21.00.  Sometimes I feel that too expensive but once I open it and put it on the price is totally justified.  I use them more than I would my Loreal or Rimmel brand lip colors.  I can definitely see me wearing this more in December.  I have a small give away coming up real soon that will be posted on my YouTube channel.  It will be a Real Techniques Miracle Sponge and a Blush Brush.  I want to add a few more items and I will post a video as soon as I get the things I want to giveaway.  So go ahead and subscribe to my channel if you haven't already.
Thanks for stopping by, Christina M.

Friday, September 26, 2014

DIY: How To Make Birthday Centerpieces

Today at work, I had the task to recreate a My Little Pony Centerpiece using the items we had in the store.  I really thought it was going to be impossible.  We already printed out the pony that we needed but I had to cut out foam paper to stick it to and syrofoam to use as a base.  Here are some pictures to show you what I used and how I used it.

I cut out a piece of styrofoam from a block that we had in the store.   The easiest way for me was just to saw it off with scissors.


I used this aqua color border to wrap around the block.

Since the border was scalloped it showed some of the white edges of the foam.  I wrapped the border around the foam 3 times to hide the top white edges

This was the result. I liked the finished look of doing that.

I used a total of 6 sheets of each color to complete 2 centerpieces.  I  folded the tissue paper about 4 times and traced a circle using the border that was still in the roll.

As you can see, the circles are as wide as the base, which is what you want  because it makes it look more fluffier.

I used pink and yellow tissue paper.

Before you start gluing the tissue paper, poke a hole in the center of the foam.  This is where your character will be placed.

I used a Sharpie to give me a bigger fluff. You can use a pencil but the fluff will be much tighter.

Add hot glue to the bottom tip of the paper and stick it to the base

Just follow around the edge of the foam until you are back to the beginning . The first few pieces might look weird but that's normal.  It will look pretty once you finish.

This is the finished result

I had to use adhesived foam paper, so there was no room to make mistakes. We only had 2 prints of the pony and we needed 2 centerpieces.

I wrapped a plastic balloon stick with ribbon to make it look cuter

I then hot glued the stick to the pony 

I put hot glue in the hole that I made earlier and stuck the stick in there.  I put more hot glue around the base of the straw and held it in place until it dried to avoid a crooked centerpiece

After the glue is dry, simply glue about 4-6 more tissue paper to cover up the center.

And...this is the finished result.  

The one in the right was the one I used to copy from.  The person who made that one used a piece of  wood as the base.  She also had wider unscalloped border which she wrapped only once around the wood.  Instead of using foam paper she used Styrofoam.

You can use any character you want to use and any color.  For example you can use black border and red and blue tissue paper for a Spiderman theme. These are cute to use at birthday centerpieces for the  tables. If time allows make enough for each guest to take home as a small thank you for coming to the party.