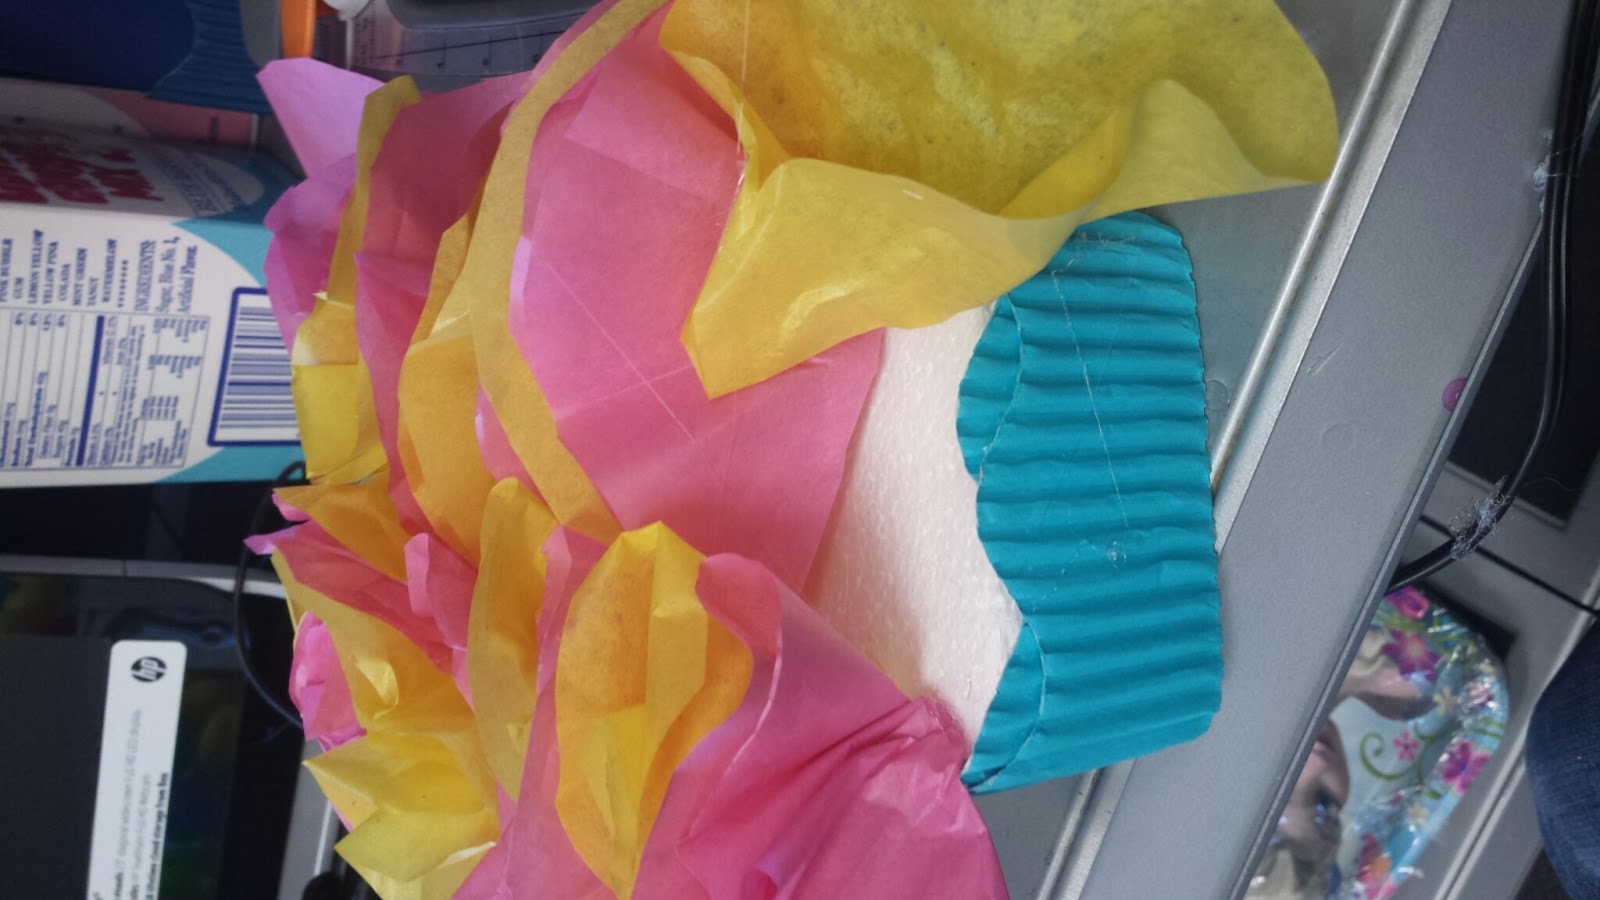
Today at work, I had the task to recreate a My Little Pony Centerpiece using the items we had in the store. I really thought it was going to be impossible. We already printed out the pony that we needed but I had to cut out foam paper to stick it to and syrofoam to use as a base. Here are some pictures to show you what I used and how I used it.
 |
| I cut out a piece of styrofoam from a block that we had in the store. The easiest way for me was just to saw it off with scissors. |
 |
| I used this aqua color border to wrap around the block. |
 |
| Since the border was scalloped it showed some of the white edges of the foam. I wrapped the border around the foam 3 times to hide the top white edges |
 |
| This was the result. I liked the finished look of doing that. |
 |
| I used a total of 6 sheets of each color to complete 2 centerpieces. I folded the tissue paper about 4 times and traced a circle using the border that was still in the roll. |
 |
| As you can see, the circles are as wide as the base, which is what you want because it makes it look more fluffier. |
 |
| I used pink and yellow tissue paper. |
 |
| Before you start gluing the tissue paper, poke a hole in the center of the foam. This is where your character will be placed. |
 |
| I used a Sharpie to give me a bigger fluff. You can use a pencil but the fluff will be much tighter. |
 |
| Add hot glue to the bottom tip of the paper and stick it to the base |
 |
| Just follow around the edge of the foam until you are back to the beginning . The first few pieces might look weird but that's normal. It will look pretty once you finish. |
 |
| This is the finished result |
 |
| I had to use adhesived foam paper, so there was no room to make mistakes. We only had 2 prints of the pony and we needed 2 centerpieces. |
 |
| I wrapped a plastic balloon stick with ribbon to make it look cuter |
 |
| I then hot glued the stick to the pony |
 |
| I put hot glue in the hole that I made earlier and stuck the stick in there. I put more hot glue around the base of the straw and held it in place until it dried to avoid a crooked centerpiece |
 |
| After the glue is dry, simply glue about 4-6 more tissue paper to cover up the center. |
 |
| And...this is the finished result. |

No comments:
Post a Comment
If you would like to be notified by email when I (or anyone else) replies to your comment please click the 'Subscribe by email' link under this comment box." So that everyone knows that they must do this to get any responses from you or anyone else.